The Sweet Science: A Technical Analysis of Professional Candy Casting
Introduction: Art and Science
Candy casting goes beyond following recipes. It’s a discipline rooted in applied science. The process transforms simple sugar into stunning, glass-like creations through precise manipulation of its physical and chemical properties. This guide moves past basic instructions. Instead, it explores the core technical principles that govern this transformation.
We’ll answer one fundamental question: “What are the technical principles of professional candy casting?”
A Scientific Definition
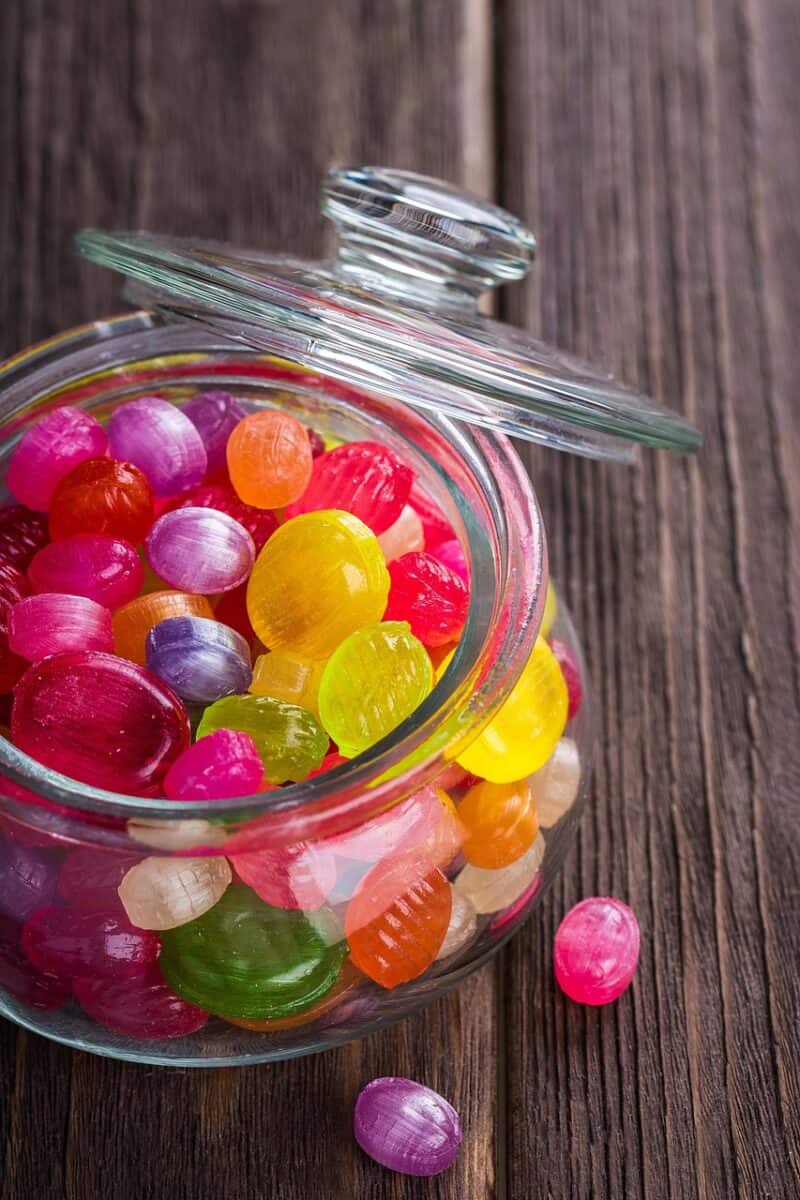
Candy casting creates solid, stable shapes from a super-saturated sugar solution. The primary goal? Form an amorphous solid. This is also known as sugar glass.
The process rests on three technical pillars. These are crystallography, thermal dynamics, and material science. Understanding these pillars is the key to mastering the craft.
Why Technique Matters
A technical approach separates hobbyists from professionals. Understanding the “why” behind each step grants you absolute control. It ensures consistent results. It also provides knowledge to troubleshoot failures and innovate new forms.
This is an expert-level guide. It’s for those who seek to command the medium of sugar, not just follow its whims.

Understanding Sugar Crystallography
The most critical concept in candy casting is controlling sugar crystallization. This molecular-level understanding forms the foundation of all successful hard candy.
Failure to manage crystallization causes common defects. These include grainy or cloudy candy.
Crystalline vs. Amorphous
Sucrose, or common table sugar, naturally organizes itself into a highly ordered, stable molecular structure. This is a crystalline state. Rock candy exemplifies this.
For most candy casting, the goal is the opposite. We want an amorphous, non-crystalline glass structure. Imagine a neat stack of bricks representing a crystal. An amorphous state is like that same pile of bricks after being dropped from a truck—completely disordered. This disordered state gives hard candy its characteristic clarity and snap.
Role of Interfering Agents
To achieve a stable amorphous glass, we must actively prevent sucrose molecules from aligning into crystals. We accomplish this using interfering agents.
These aren’t just flavor enhancers. They’re functional ingredients that work on a molecular level.
Glucose syrup and corn syrup contain long-chain sugars. These larger molecules physically obstruct the smaller sucrose molecules. This makes it difficult for them to find each other and form an orderly crystal lattice.
Acids work through a chemical process called inversion. Examples include cream of tartar (potassium bitartrate) or citric acid. When heated with sucrose and water, the acid breaks down a portion of the sucrose into its two component sugars: fructose and glucose. This new mixture of three different sugar types (sucrose, fructose, glucose) inherently resists crystallization. The differently shaped molecules don’t fit together easily.
Controlling Unwanted Nucleation
Crystallization requires a starting point. This is known as a nucleation point. This can be any microscopic impurity or imperfection where the first few molecules can begin to align.
Common nucleation points include undissolved sugar crystals, specks of dust from the air, or agitation caused by excessive stirring.
Technical best practices are non-negotiable for preventing unwanted nucleation. Always use scrupulously clean pots, spoons, and thermometers.
Before the syrup reaches a full boil, use a pastry brush dipped in clean water. Wash down any sugar crystals clinging to the sides of the pot. Once the sugar is fully dissolved and the syrup is boiling, minimize all agitation. Don’t stir the mixture. This introduces air bubbles and creates countless new nucleation points.
Mastering Thermal Dynamics
Temperature is the primary control lever in candy casting. It directly dictates the sugar concentration of the syrup. Therefore, it determines the final texture and structural properties of the finished product.
Mastering thermal dynamics means understanding not just what temperature to reach, but why that temperature produces a specific result.
The Science of Sugar Stages
As a sugar syrup boils, water evaporates. The concentration of sugar increases. The temperature of the syrup is a direct and reliable indicator of this concentration.
Each “stage” of sugar cooking corresponds to a specific temperature range and resulting sugar concentration. This defines its physical characteristics when cooled.
Table 1: Technical Guide to Sugar Stages in Candy Casting
|
Stage Name
|
Temperature Range (°F / °C)
|
Sugar Concentration
|
Technical Characteristics & Primary Use in Casting
|
|
Soft-Ball
|
235-245°F / 112-116°C
|
~85%
|
Forms a soft, pliable ball; Too soft for hard candy casting, used for fudges/fondant centers.
|
|
Firm-Ball
|
245-250°F / 118-120°C
|
~87%
|
Forms a firm ball; Used for caramels, not suitable for brittle cast candies.
|
|
Hard-Ball
|
250-265°F / 121-129°C
|
~92%
|
Forms a hard, but still pliable ball; Used for nougat, gummies.
|
|
Soft-Crack
|
270-290°F / 132-143°C
|
~95%
|
Threads are flexible but brittle when cooled; Used for taffy, butterscotch.
|
|
Hard-Crack
|
300-310°F / 149-154°C
|
~99%
|
Threads are brittle and snap easily. The critical stage for clear, hard cast candy (lollipops, gems).
|
|
Caramel
|
320-350°F / 160-177°C
|
>99% (pyrolysis begins)
|
Sugar begins to break down and caramelize, adding color and flavor. Use with caution as it can burn quickly.
|
The hard-crack stage is paramount for candy casting. At this point, the water content is so low (around 1%) that the cooled syrup will form the desired hard, brittle, amorphous glass.
Accurate Temperature Reading
Precision is impossible without an accurate thermometer. Digital probe thermometers are generally superior to traditional analog candy thermometers. They have rapid response time and higher accuracy.
Regardless of type, your thermometer must be calibrated. The most reliable method is to test it in boiling water. At sea level, water boils at 212°F (100°C). If your thermometer reads differently, you must note the variance. Adjust your target temperatures accordingly. Remember to account for altitude. The boiling point of water decreases as altitude increases.
The Cooling Process
The cooling phase is as critical as the heating phase. The goal is to cool the syrup so quickly that the sugar molecules are “frozen” in their disordered, liquid-like arrangement. This happens before they have time to organize into crystals.
This transition from a rubbery liquid to a solid glass occurs at the glass transition temperature.
Rapid, undisturbed cooling is essential. Place your filled molds on a heat-resistant surface in a cool, draft-free area. Any jostling or vibration during this phase can encourage crystallization.
Ambient conditions play a significant role. The ideal working humidity for hard candy is below 35%. High humidity introduces moisture into the air. The cooling candy will readily absorb this, leading to a sticky surface.
Ingredient Deep Dive
A professional confectioner deconstructs recipes to understand the technical function of each component. This knowledge allows for informed substitutions, recipe development, and troubleshooting.
Let’s analyze the structural and chemical role of the primary ingredients used in candy casting.
Sugars as Backbone
Sucrose is the primary structural component in most traditional candy. It provides the bulk, the sweetness, and the molecular foundation for the sugar glass.
Isomalt is a sugar alcohol derived from sucrose. It’s a superior alternative for many professional applications. Its primary technical advantage is much higher resistance to crystallization than sucrose.
Furthermore, isomalt is significantly less hygroscopic. This means it attracts and absorbs far less moisture from the atmosphere. This makes it the ideal choice for creating delicate sugar sculptures or cast pieces that must remain clear and stable for extended periods, especially in high-humidity environments. In our professional experience, while sucrose provides a classic taste, isomalt offers unmatched clarity and durability for showpieces.
Additives and Enhancers
Additives aren’t optional extras. They’re functional tools used to modify and control the candy’s final properties. Understanding their specific roles is crucial for achieving consistent, high-quality results.
Each additive performs a distinct technical function. This ranges from preventing crystallization to enhancing sensory appeal.
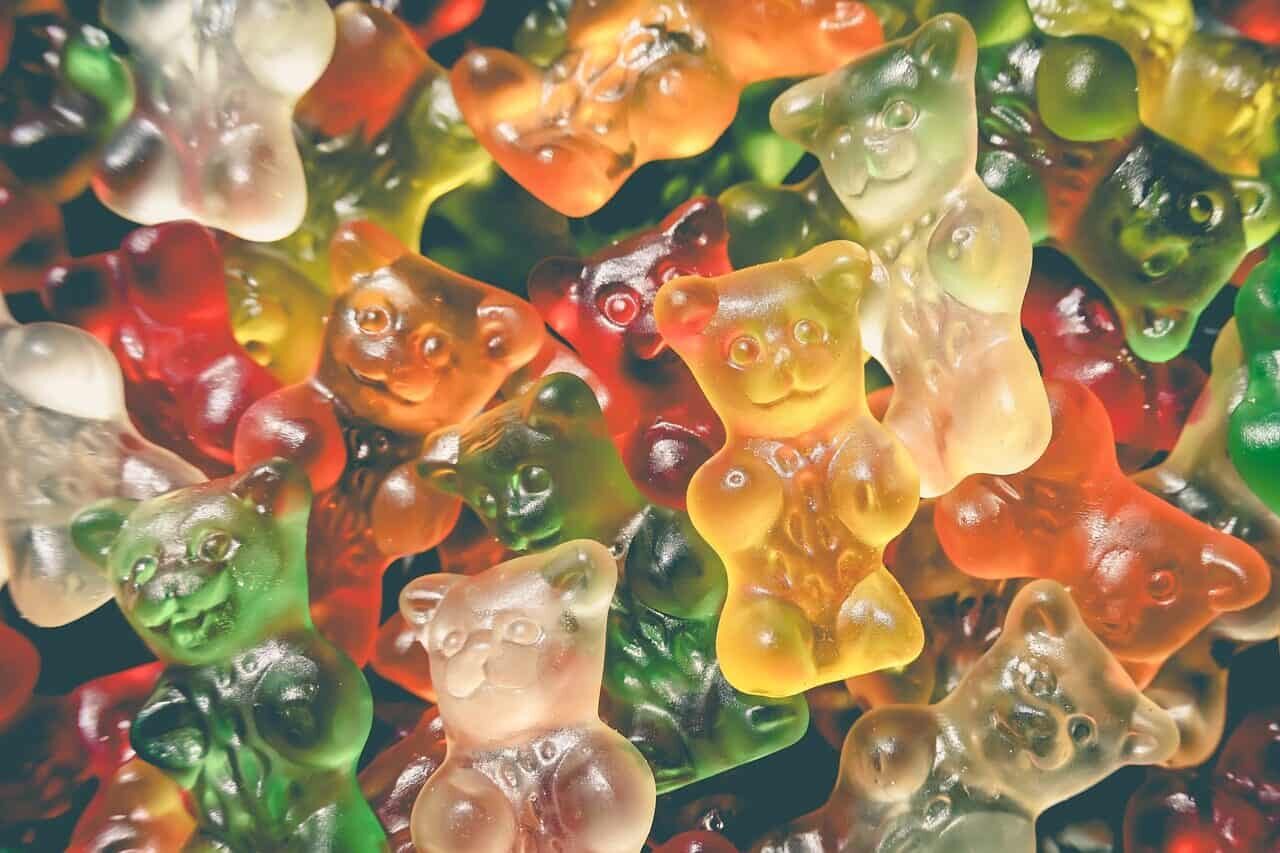
Table 2: Key Additives in Candy Casting and Their Functions
|
Ingredient
|
Chemical/Common Name
|
Primary Technical Function
|
Effect on Final Product
|
|
Interfering Agent
|
Corn Syrup, Glucose Syrup
|
Long-chain polysaccharides
|
Prevents sucrose crystallization, adds body, controls sweetness.
|
|
Acidulant
|
Cream of Tartar (Potassium Bitartrate)
|
Inverting agent
|
Breaks down sucrose into glucose/fructose, preventing crystallization and creating a more tender texture.
|
|
Colors
|
Water-based, Gel, Powdered
|
Pigments/Dyes
|
Provides visual appeal. Must be heat-stable. Gels and powders are preferred for their low water content.
|
|
Flavors
|
Oil-based or Water-based Extracts
|
Aromatic compounds
|
Provides taste. Oil-based flavors are more heat-stable and should be added last to prevent evaporation.
|
|
Stabilizers
|
Gum Arabic, Gelatin
|
Hydrocolloids
|
Increases viscosity, can add chewiness, or help emulsify fats (not typical in basic hard candy).
|
Choosing the right additive is a technical decision. Gel or powdered colors are preferred over liquid water-based colors. They introduce minimal extra water, which would otherwise need to be boiled off. Oil-based flavorings are more volatile. They should be added at the very end of the cooking process, off the heat, to prevent the flavor from evaporating.
The Casting Process
This is the practical application of the principles we’ve discussed. Each step is a deliberate action with a specific scientific purpose. It’s designed to guide the sugar from a simple solution to a perfect amorphous solid.
A technical workflow eliminates guesswork. It ensures a repeatable, high-quality outcome.
Step 1: Mise en Place
This French term for “everything in its place” is a scientific necessity in candy casting. Prepare your workspace with absolute precision before you begin cooking.
The science of clean is paramount. Any stray particle of dust, flour, or old sugar on your equipment can act as a nucleation site. This can ruin the entire batch. Ensure your pot, thermometer, and utensils are spotless.
Prepare your molds. If using molds that require it, apply a thin, even coat of a neutral mold release spray. This spray acts as a surfactant. It reduces the surface tension between the hot syrup and the mold, which facilitates a clean release later.
Step 2: The Cook
This phase is about managing the transformation of the sugar solution through the controlled application of heat.
Begin with the dissolution phase. Combine sugar, water, and corn syrup in a heavy-bottomed saucepan. Stir gently over medium heat only until every single sugar crystal has completely dissolved. You must not allow the mixture to boil before all crystals are gone.
Once dissolved, bring the syrup to a boil. This is the start of the boiling phase. Don’t stir from this point forward. Stirring introduces air, which creates bubbles, and agitation, which encourages crystallization. Use a wet pastry brush to wash down the sides of the pot to remove any stray crystals.
Add color and flavor at the correct time. Heat-stable gel or powder colors can be added during the boil. Volatile flavorings must be added after the pot is removed from the heat. This prevents the aromatic compounds from degrading or evaporating. It preserves the full taste profile.
Step 3: The Pour
This step involves managing the fluid dynamics of the hot, viscous syrup. A controlled pour is essential for a flawless final product.
Allow the syrup to rest for 30-60 seconds after removing it from the heat. This allows some of the largest bubbles to rise and pop. The syrup’s viscosity is directly related to its temperature. As it cools slightly, it becomes thicker and easier to control.
Pour slowly and steadily from a low height. Pouring from high above the mold will incorporate air. This creates bubbles that become trapped as the candy sets. A deliberate, close pour minimizes this effect.
Step 4: Demolding and Curing
The final step is to release the candy and prepare it for storage. This requires an understanding of its final physical state.
The candy is fully set and ready for demolding only when it has cooled completely. It must be well below its glass transition temperature. It should be hard and no longer tacky to the touch.
Immediately address the science of hygroscopicity. Hard candy is essentially dehydrated sugar. It will aggressively try to rehydrate itself by pulling moisture from the air. This makes the surface sticky. To prevent this, store finished pieces immediately in airtight containers. Preferably with food-safe desiccant packets to absorb any residual moisture.
Advanced Troubleshooting
Even with precise technique, problems can arise. A true expert can diagnose the cause of a failure based on observable symptoms. They can apply a scientific solution.
This section provides a causal analysis of the most common defects in candy casting. It turns problems into learning opportunities.
Causal Defect Analysis
Troubleshooting shouldn’t be a guessing game. By framing defects as the result of a specific technical cause, we can systematically identify and correct the root of the problem.
This diagnostic approach is far more effective than a random list of tips. It will empower you to solve any issue you encounter.
Table 3: Technical Troubleshooting Guide for Candy Casting
|
Problem/Defect
|
Observable Symptom(s)
|
Most Likely Technical Cause(s)
|
Scientific Solution(s) & Prevention
|
|
Grainy / Sugary Candy
|
Opaque, rough texture, not smooth.
|
Premature or uncontrolled crystallization.
|
1. Ensure all sugar is dissolved before boiling. 2. Wash down pot sides. 3. Use an adequate amount of interfering agent (e.g., corn syrup).
|
|
Sticky / Weeping Candy
|
Surface becomes wet and sticky after setting.
|
Hygroscopicity; absorption of atmospheric moisture.
|
1. Cook to the higher end of the hard-crack stage (310°F/154°C). 2. Work in low humidity (<35%). 3. Store immediately in an airtight container with a desiccant pack.
|
|
Yellow / Brown Tint
|
Candy is not clear or has a dark hue.
|
Sugar has begun to caramelize or burn.
|
1. Use a heavy-bottomed saucepan for even heat. 2. Monitor temperature closely and remove from heat immediately upon reaching the target. 3. Do not scrape the bottom of the pot.
|
|
Bubbles in Candy
|
Numerous small or large air pockets trapped.
|
1. Over-stirring after boiling. 2. Pouring too quickly or from too high. 3. Water in flavorings/colors boiling off.
|
1. Allow syrup to rest for a minute off-heat for bubbles to rise. 2. Pour slowly and close to the mold. 3. Use low-water content colors (gels/powders).
|
|
Brittle / Shattering Candy
|
Candy is excessively fragile and shatters easily.
|
1. Cooked to too high a temperature. 2. Lack of interfering agents creating a pure, unstable sucrose glass.
|
1. Double-check thermometer calibration. 2. Ensure the correct ratio of corn syrup or other interfering agents is used to create a more stable glass structure.
|
Conclusion: Knowledge to Mastery
You now possess the technical framework to move beyond simply making candy. You can begin truly engineering it. Mastery is achieved when practical skill is built upon a foundation of scientific understanding.
This knowledge empowers you to create with intention and precision.
Key Principles Recap
The journey from novice to expert in candy casting is built on mastering a few core principles:
-
Control crystallization by managing nucleation and using interfering agents.
-
Utilize precise temperature management to dictate the final sugar concentration and texture.
-
Understand the specific technical function of every ingredient in your formula.
-
Follow a meticulous, science-based process from preparation to storage.
The Path Forward
With these principles as your guide, the world of confectionery becomes a laboratory for innovation. Begin to experiment. Adjust the ratio of interfering agents. Explore the properties of different sugars like isomalt. Develop your own unique formulas.
Technical mastery isn’t the end of creativity. It’s the key that unlocks its fullest potential. Go forth and create with confidence.
- Professional Culinary Arts – The Culinary Institute of America https://www.ciachef.edu/
- Pastry and Confectionery Education – Institute of Culinary Education https://www.ice.edu/
- Candy Making and Confectionery – Wikipedia https://en.wikipedia.org/wiki/Candy_making
- Food Science and Sugar Chemistry – IFT (Institute of Food Technologists) https://www.ift.org/
- Advanced Pastry Techniques – The French Pastry School https://www.frenchpastryschool.com/
- Baking and Confectionery Science – King Arthur Baking https://www.kingarthurbaking.com/
- Professional Chef Certification – American Culinary Federation https://www.acfchefs.org/
- Culinary Science and Techniques – Serious Eats https://www.seriouseats.com/
- Food Chemistry and Carbohydrates – ScienceDirect https://www.sciencedirect.com/topics/food-science/sugar
- Culinary Education and Research – Harvard Science & Cooking https://www.seas.harvard.edu/cooking