Guia definitivo para a preparação de xarope
A magia do xarope
Melhorar seu café diário, coquetéis de fim de semana ou sobremesas simples pode ser surpreendentemente fácil. O segredo geralmente está em algo que muitas pessoas não percebem: o xarope.
Fazer xarope em casa abre um mundo de sabores personalizados. Você pode ir além das opções compradas em lojas e assumir o controle total.
Este guia lhe ensinará tudo o que você precisa para saber. Você aprenderá a fazer, aromatizar, resolver problemas e armazenar qualquer xarope que possa imaginar.
A preparação do xarope consiste simplesmente em dissolver o açúcar na água. Mas O domínio da técnica permite obter sabores incríveis.
Os benefícios são imediatos. Você obtém melhor sabor dos ingredientes frescos. Você economiza dinheiro em comparação com as marcas de lojas. E você controla cada ingrediente. Não há mais conservantes ocultos ou sabores falsos.
Proporções e ingredientes do xarope
Em sua essência, a preparação do xarope usa apenas dois ingredientes principais: açúcar e água. O tipo de açúcar escolhido e a quantidade utilizada definem o produto final.
Entender os diferentes açúcares é o primeiro passo para se tornar um especialista em xaropes. Cada tipo traz algo único para a mesa.
-
Açúcar branco granulado: Essa é sua tela em branco. Proporciona uma doçura limpa sem atrapalhar os sabores delicados. Perfeito para xaropes florais ou de frutas sutis.
-
Açúcar Demerara/Turbinado: Esses açúcares menos processados mantêm um pouco de melaço. Isso confere ao xarope uma cor dourada clara e notas de caramelo e toffee. Funcionam muito bem em bebidas de café ou coquetéis com destilados.
-
Açúcar mascavo: Com muito melaço, o açúcar mascavo cria um xarope profundo e rico com forte sabor de caramelo. É perfeito para xaropes condimentados, drinques de inverno e bebidas de café ousadas.
-
Mel/xarope de bordo: Esses adoçantes naturais também são ótimos xaropes. Uma mistura de 1:1 de mel e água cria um "xarope de mel" que se mistura em bebidas geladas com muito mais facilidade do que o mel puro. Eles trazem seus próprios sabores poderosos e distintos.
O próximo conceito importante é a proporção açúcar/água. Isso controla a espessura do xarope, o sabor doce e a duração. As duas proporções mais comuns são 1:1 e 2:1.
Tabela 1: Guia de referência rápida da proporção de xarope
Esta tabela mostra as proporções mais comuns usadas na preparação do xarope.
|
Proporção (açúcar:água)
|
Nome comum
|
Viscosidade e doçura
|
Melhor para...
|
|
1:1
|
Xarope simples
|
Fino, moderadamente doce
|
Chá gelado, café, bolos umedecidos, coquetéis de uso geral
|
|
1.5:1
|
Xarope médio
|
Um pouco mais grosso, mais doce
|
Coquetéis que exigem mais corpo (por exemplo, Old Fashioned)
|
|
2:1
|
Xarope simples rico
|
Espesso, muito doce, maior prazo de validade
|
Coquetéis espirituais, preservando a fruta, quando a diluição é uma preocupação
|
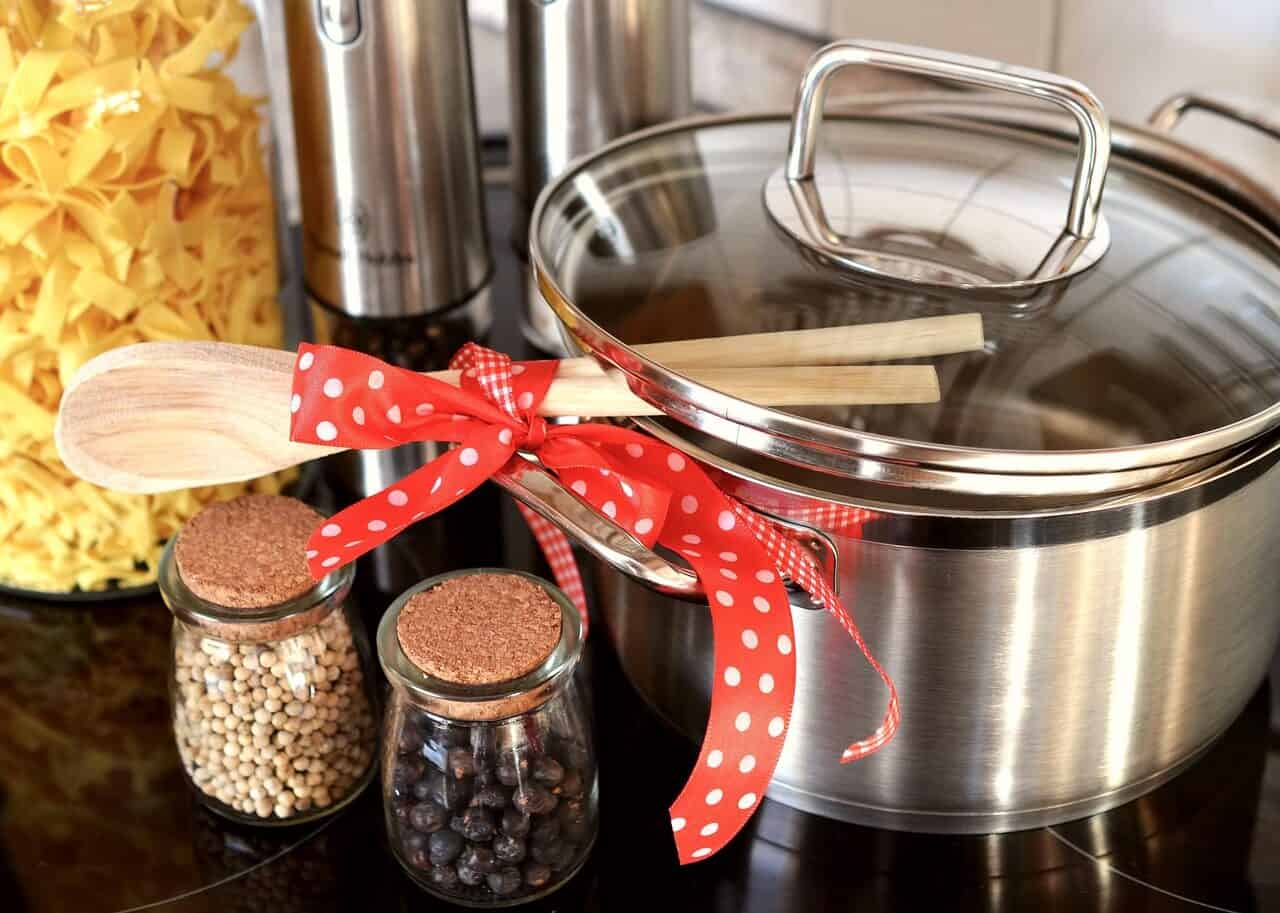
Seu kit de ferramentas de preparação de xarope
Ter as ferramentas certas torna a preparação de xaropes suave e fácil. Você não precisa de uma cozinha profissional, mas alguns itens essenciais lhe darão resultados consistentes e de alta qualidade.
Dividiremos isso em "imprescindível" e "agradável".
Essenciais
Esses são os itens absolutamente necessários para a preparação básica do xarope.
-
Panela: Uma panela de fundo grosso é a melhor opção. Ela espalha o calor uniformemente, o que evita que o açúcar queime no fundo.
-
Copos e colheres de medida: Obter as proporções corretas é fundamental para obter resultados consistentes. Você precisa de copos de medição para líquidos e secos.
-
Batedor ou colher: você precisa de algo para mexer a mistura e garantir que todo o açúcar se dissolva. Uma colher de silicone resistente ao calor ou um batedor de metal funcionam perfeitamente.
-
Peneira de malha fina ou pano de algodão: É essencial para fazer xaropes aromatizados claros e com aparência profissional. Ela filtra as ervas, os temperos e os pedaços de frutas.
-
Frascos de armazenamento: Garrafas de vidro com vedação hermética são ideais. Elas não absorvem sabores, são fáceis de limpar e a boa vedação evita a contaminação.
Opcional, mas útil
Essas ferramentas não são estritamente necessárias, mas tornam seu processo muito melhor.
-
Balança digital de cozinha: Para obter medidas perfeitas, especialmente ao fazer xaropes ricos 2:1 por peso, uma balança é de valor inestimável. Ela elimina a adivinhação da medição.
-
Funil: Um simples funil faz com que a transferência do xarope acabado e resfriado para as garrafas seja limpa e sem bagunça.
-
Descascador de batatas ou Zester: Ao adicionar sabores cítricos, esses utensílios removem perfeitamente a casca sem a parte branca amarga que fica embaixo.
Método principal: Xarope simples
Agora vamos ao evento principal: fazer o xarope de fato. Há duas maneiras principais de fazer um xarope simples básico. Cada uma tem seu lugar, e nós o orientaremos em ambas.
Método 1: O processo a quente
Esse é o método padrão e mais confiável para a preparação do xarope. Ele funciona para qualquer proporção e garante a o açúcar se dissolve completamente para obter um xarope estável e transparente.
-
Meça seus ingredientes: Use seus copos de medição ou balança para obter a proporção desejada de açúcar e água. Para o clássico xarope simples 1:1, você pode usar uma xícara de água e uma xícara de açúcar.
-
Combine e aqueça: Despeje a água e o açúcar em uma panela de fundo grosso. Coloque-a em fogo médio-baixo.
-
Mexa delicadamente: Mexa a mistura continuamente com um batedor ou uma colher. O objetivo é apenas dissolver o açúcar. Não é necessário ferver muito.
-
Aquecer até ficar transparente: continue aquecendo e mexendo até que todos os o açúcar tenha se dissolvido completamente e o líquido é transparente. O aquecimento suave, sem fervura, evita a turvação e impede que a proporção de água e açúcar seja alterada pela evaporação.
-
Deixe esfriar completamente: Retire a panela do fogo. É necessário deixar o xarope esfriar até a temperatura ambiente antes de engarrafar. O engarrafamento de xarope quente cria condensação dentro da garrafa, o que adiciona mais água e pode fazer com que o xarope estrague mais rapidamente.
Método 2: O processo a frio
Esse método sem aquecimento é rápido e funciona melhor para xarope simples 1:1. Ele não funciona tão bem para proporções mais espessas porque o açúcar tem mais dificuldade para se dissolver em menos água.
-
Combine em uma jarra: Adicione a proporção de 1:1 de açúcar e água em um frasco limpo com tampa bem fechada.
-
Agite com força: Feche o frasco e agite-o com força por um ou dois minutos. Você está usando o movimento em vez do calor para dissolver o açúcar.
-
Deixe descansar: O líquido parecerá turvo no início. Deixe o frasco descansar no balcão por 10 a 20 minutos. O açúcar restante se dissolverá lentamente. Agite novamente, se necessário.
Como saber quando está pronto
Para ambos os métodos, o principal sinal de conclusão é a clareza. Observe atentamente o líquido. Se for possível ver pedaços de açúcar na mistura ou assentados no fundo, é preciso mais tempo ou agitação. Um xarope pronto deve ser completamente transparente.
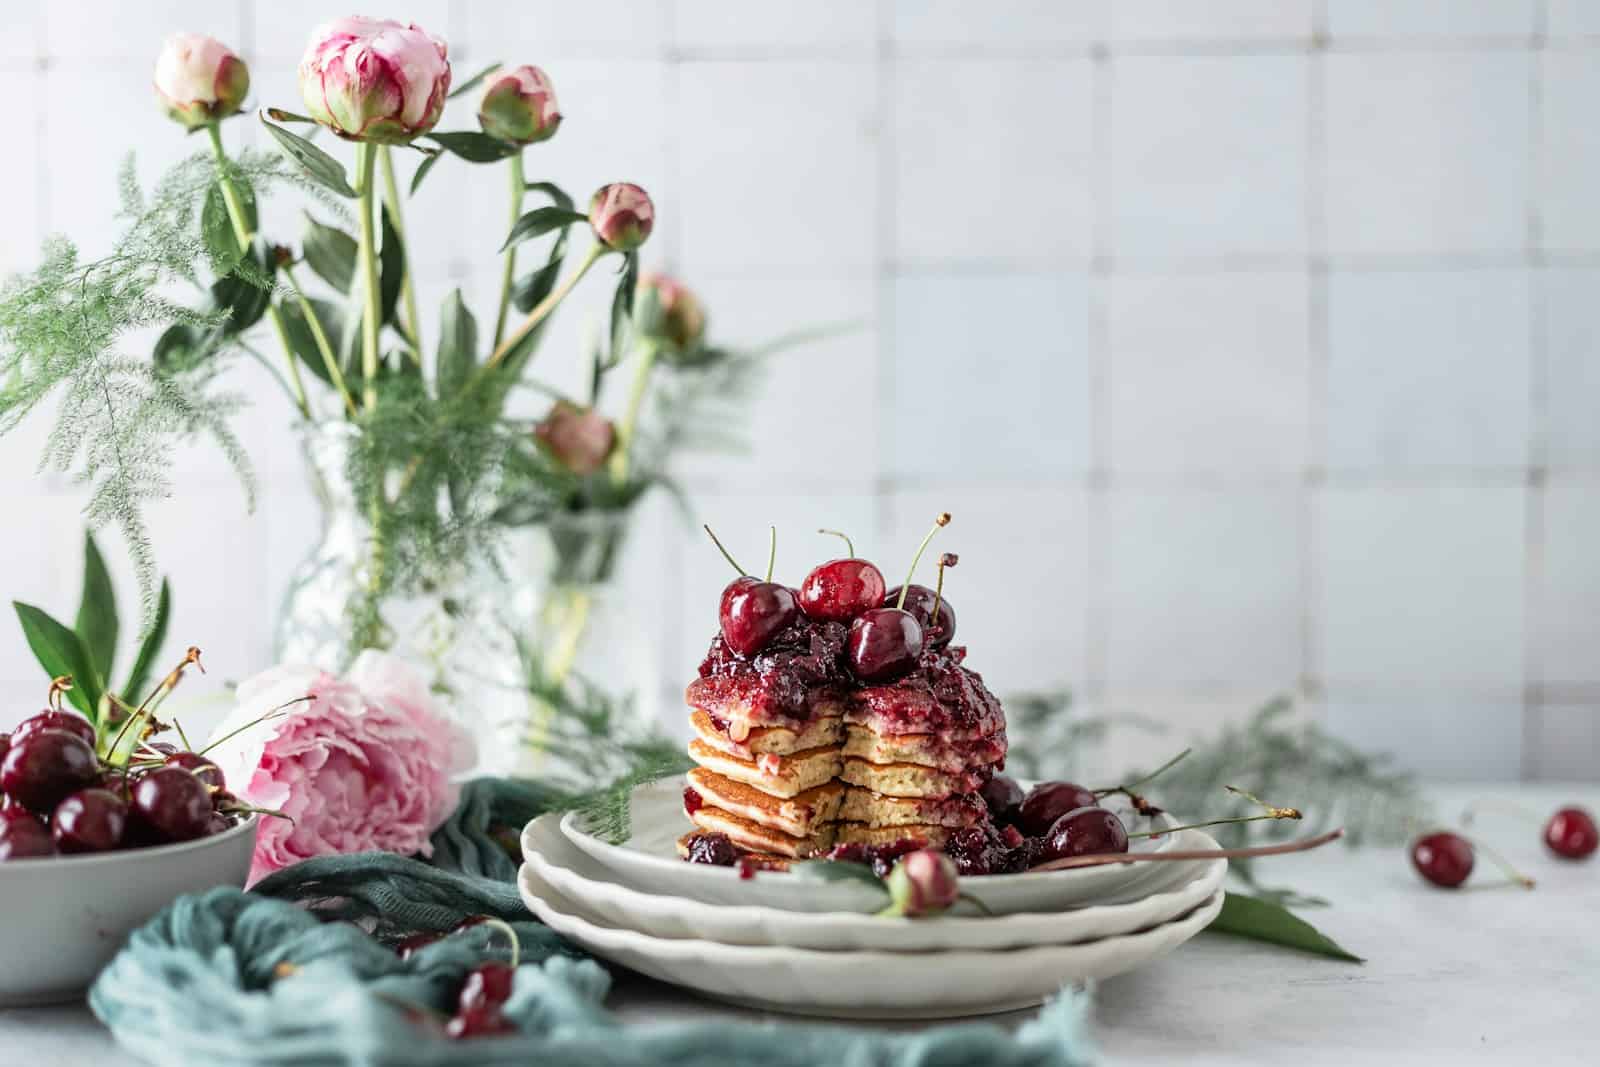
Dominando os xaropes aromatizados
Depois de dominar o xarope simples básico, a verdadeira diversão começa. A adição de sabores ao xarope é a forma de criar bebidas e sobremesas exclusivas. A técnica escolhida depende inteiramente dos ingredientes que você está usando.
Há duas maneiras principais de adicionar sabor: infusão quente e infusão fria.
Método de infusão a quente
Esse método usa o calor do xarope recém-feito para extrair o sabor de ingredientes resistentes. É rápido, eficiente e perfeito para coisas que podem suportar um pouco de calor.
A infusão quente funciona melhor com ingredientes difíceis. Pense em especiarias inteiras (paus de canela, anis estrelado, cravo-da-índia), cascas de frutas cítricas e raízes fibrosas como gengibre ou cúrcuma. O calor ajuda a quebrar suas paredes e liberar óleos aromáticos.
O processo é simples. Depois que o xarope estiver pronto e o açúcar estiver dissolvido (Etapa 4 do processo quente), retire a panela do fogo. Adicione os ingredientes aromatizantes diretamente ao xarope quente, cubra a panela e deixe em infusão. O tempo de infusão varia de 15 minutos para cascas de frutas cítricas a uma hora para especiarias inteiras. Depois de ficar em infusão, coe o xarope em uma peneira de malha fina.
Método de infusão a frio
A infusão a frio é a abordagem oposta. É um processo suave e lento projetado para extrair o sabor de ingredientes delicados sem danificar seu caráter fresco e vibrante com o calor.
Esse método é perfeito para ingredientes delicados cujos sabores seriam destruídos ou alterados pelo calor. Ervas frescas, como hortelã e manjericão, e pétalas de flores frágeis, como rosa ou hibisco, são perfeitas para a infusão a frio.
Para fazer a infusão a frio, primeiro prepare e resfrie completamente um lote de xarope simples. Combine o xarope resfriado e os ingredientes frescos em um frasco limpo e hermético. Feche-o e coloque-o na geladeira. Deixe em infusão por 12 a 48 horas, provando ocasionalmente até obter a intensidade de sabor desejada. Em seguida, coe e engarrafe.
Estrutura de combinação de sabores
Apenas listar os ingredientes não é suficiente. A arte está na combinação. Aqui estão algumas ideias para você começar, desde clássicos atemporais até misturas mais ousadas.
-
Combinações clássicas: Menta e limão, canela e laranja, alecrim e grapefruit, baunilha e café.
-
Misturas aventureiras: Cardamomo e Rosa, Pimenta Preta e Morango, Tomilho e Limão, Lavanda e Mel, Jalapeño e Grapefruit.
A experimentação é fundamental. Comece com um pequeno lote e veja quais combinações de sabores você mais gosta.
Tabela 2: Folha de consulta sobre infusão de sabores
Esta tabela é seu guia de referência rápida para preparar e infundir muitos ingredientes diferentes.
|
Categoria do ingrediente
|
Exemplos
|
Preparação
|
Método de infusão
|
Tempo recomendado
|
|
Especiarias inteiras
|
Canela em pau, anis estrelado, cravo da índia
|
Use inteiro; quebre levemente para dar mais sabor
|
Infusão quente
|
Deixe em infusão por 30 a 60 minutos, fora do fogo
|
|
Ervas frescas
|
Hortelã, manjericão, alecrim, tomilho
|
Machuque suavemente as folhas para liberar os óleos
|
Infusão a frio
|
12-24 horas, refrigerado
|
|
Citrus
|
Casca de limão, laranja e grapefruit
|
Use um descascador para obter as raspas sem miolo
|
Infusão quente ou fria
|
Quente: 15-20 minutos; Frio: 8-12 horas
|
|
Frutas
|
Bagas, pêssegos, cerejas
|
Macerar ou fatiar
|
Infusão quente (cozida em xarope)
|
Cozinhe em fogo brando por 10 a 15 minutos
|
|
Raízes
|
Gengibre, cúrcuma
|
Corte em fatias finas ou rale
|
Infusão quente
|
Cozinhe em fogo brando por 10 a 15 minutos
|
Dicas e solução de problemas com xarope
Mesmo algo tão simples como a preparação do xarope pode apresentar problemas. Entender por que os problemas acontecem é fundamental para evitá-los. Esta seção é o seu guia especializado para corrigir erros comuns e aperfeiçoar sua técnica.
Já vimos inúmeros lotes de xarope, e esses são os problemas mais comuns que surgem. Ao aprender a resolvê-los, você passa de cozinheiro caseiro a verdadeiro especialista em xarope.
Problemas e soluções comuns
Um problema frequente é o xarope turvo. Isso pode acontecer se o xarope for fervido com muita força, o que agita as impurezas, ou se for usada água da torneira com muitos minerais. A solução é sempre aquecer suavemente e usar água filtrada para obter o resultado mais claro possível.
A cristalização é talvez o problema mais frustrante. Isso acontece quando o xarope fica muito carregado de açúcar, causando a formação de cristais sólidos ao esfriar. A ciência envolve moléculas de açúcar instáveis que procuram algo a que se ligar.
Um erro comum que vemos são pessoas mexendo ou movimentando a calda enquanto ela esfria, o que estimula a cristalização. Outra causa é o açúcar perdido nas laterais da panela, que atua como "sementes" para o crescimento dos cristais.
Dicas profissionais para um xarope perfeito
Aqui estão algumas dicas avançadas para evitar problemas e garantir um Produto sempre perfeito.
-
Adicione um estabilizador: Para combater a cristalização em xaropes ricos em 2:1, adicione um estabilizador. Uma pequena quantidade de ácido, como um pouco de suco de limão, ou um tipo diferente de açúcar, como uma colher de chá de xarope de milho, interferirá na formação de cristais. Uma pequena quantidade de álcool neutro, como a vodca, também pode ajudar e prolonga um pouco o prazo de validade.
-
Retire a espuma: Ao fazer xaropes de frutas cozinhando as frutas diretamente na mistura, a espuma ou "escória" geralmente sobe à superfície. Ao retirá-la com uma colher, o resultado será um xarope final muito mais claro e atraente.
-
A técnica de "garrafa quente": Para obter um prazo de validade máximo, você pode usar uma técnica de semipasteurização. Enquanto o xarope ainda estiver quente, despeje-o em garrafas de vidro pré-aquecidas e higienizadas e feche-as imediatamente. Quando o xarope esfria, ele cria uma vedação a vácuo, protegendo-o ainda mais de contaminantes.
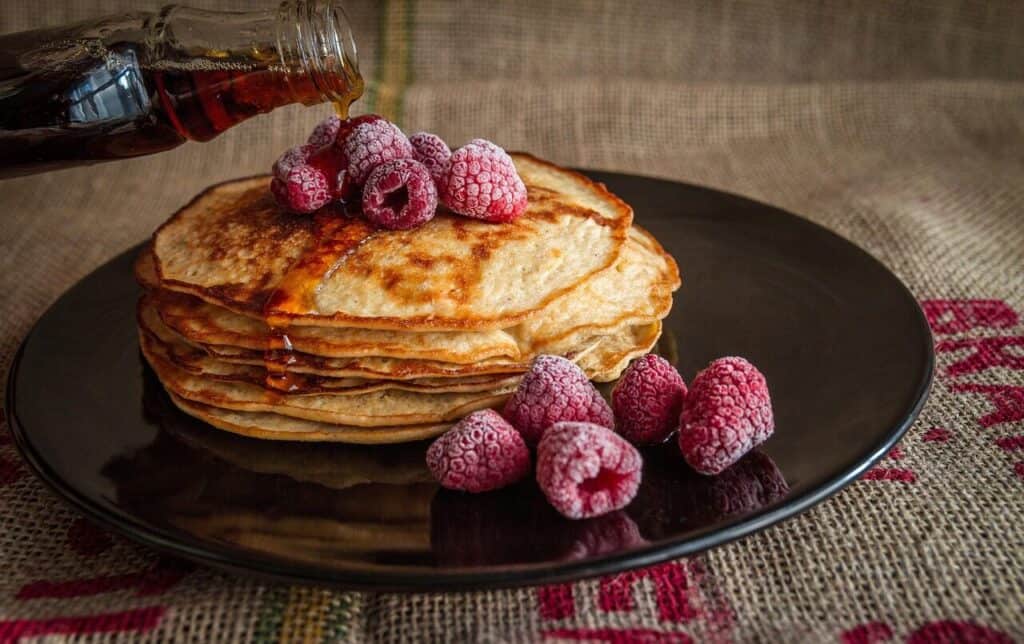

Tabela 3: Guia de solução de problemas de preparação de xarope
Esta tabela é a sua referência de solução rápida para qualquer problema que você possa encontrar durante a preparação do xarope.
|
Problema
|
Causa(s) em potencial
|
Solução(ões)
|
|
Xarope turvo
|
Açúcar não dissolvido; fervura muito forte; impurezas da água da torneira ou do açúcar.
|
Use água filtrada; aqueça suavemente sem ferver; deixe o xarope assentar e decante.
|
|
Cristalização
|
A proporção está muito pesada de açúcar; o açúcar respinga nas laterais da panela; agite o xarope enquanto ele esfria.
|
Adicione um pouco de água e reaqueça suavemente; adicione um ácido (suco de limão) ou xarope de milho; limpe as laterais da panela com uma escova úmida durante o cozimento.
|
|
Mofo ou odor desagradável
|
Armazenamento inadequado; contaminação por utensílios; concentração insuficiente de açúcar (para armazenamento de longo prazo).
|
Descarte imediatamente. Higienize os frascos adequadamente antes de usar; guarde-os na geladeira; use uma proporção de 2:1 para aumentar o prazo de validade.
|
|
O sabor é muito fraco
|
Agente aromatizante insuficiente; tempo de maceração insuficiente.
|
Aumente a quantidade de aromatizante e deixe-o em infusão por mais tempo. Para infusões quentes, você pode reaquecer suavemente para extrair mais sabor.
|
Armazenamento seguro do xarope
Você se esforçou para criar um xarope bonito e saboroso. O armazenamento adequado é a etapa final e essencial para garantir que seu trabalho árduo não seja desperdiçado.
A regra de ouro para o xarope caseiro é a seguinte: mantenha-o frio. Ao contrário das versões compradas em lojas com conservantes, os xaropes caseiros são produtos frescos e devem ser tratados como tal.
Antes de engarrafar, sempre esterilize as garrafas de vidro e as tampas. Isso pode ser feito facilmente, passando-os por um ciclo de alta temperatura na máquina de lavar louça ou fervendo-os cuidadosamente em água por 10 minutos. Isso mata qualquer bactéria ou levedura selvagem que possa causar deterioração.
O prazo de validade varia de acordo com a concentração de açúcar e os ingredientes do xarope.
-
Xarope simples 1:1: Este tem a maior quantidade de água e dura cerca de um mês na geladeira.
-
Xarope simples rico 2:1: Esse é mais estável. O açúcar age como conservante ao reduzir a "atividade da água", o que impede o crescimento de micróbios. Um xarope rico pode durar até seis meses quando refrigerado adequadamente.
-
Xaropes com infusão de frutas/ervas: Esses têm a vida útil mais curta devido à matéria orgânica fresca. Planeje usá-los dentro de duas a quatro semanas e observe-os atentamente quanto a sinais de deterioração.
Você deve ser capaz de identificar a deterioração. Se você notar qualquer turvação significativa que não existia antes, manchas visíveis de mofo ou um cheiro fermentado, azedo ou "estranho", jogue o xarope fora imediatamente. Não vale a pena correr esse risco.
Sua jornada de preparação de xarope
Você já percorreu o caminho completo da preparação de xaropes. Você passou da compreensão dos componentes básicos de açúcar e água para o domínio das infusões de sabores e da solução de problemas como um profissional.
Com esse conhecimento, você não está mais apenas seguindo uma receita. Você está preparado para criar, personalizar e aperfeiçoar seus próprios xaropes exclusivos.
Os benefícios ficarão claros em cada gole do seu café matinal e em cada coquetel que você compartilhar com os amigos: melhor sabor, ingredientes mais saudáveis e a satisfação da criação.
Agora você tem todas as ferramentas e conhecimentos para a preparação de xaropes. Vá em frente e comece a criar.
- Como fazer xarope simples (receita fácil com 2 ingredientes) | The Kitchn https://www.thekitchn.com/how-to-make-simple-syrup-240337
- Receita de xarope simples | King Arthur Baking https://www.kingarthurbaking.com/recipes/simple-syrup-recipe
- 19 Receitas fáceis com xarope de bordo | Food Network https://www.foodnetwork.com/recipes/photos/recipes-with-maple-syrup
- Receita de xarope simples | Café Starbucks em casa https://athome.starbucks.com/recipe/simple-syrup
- Receita de xarope de baunilha | Café Starbucks em casa https://athome.starbucks.com/recipe/vanilla-syrup
- Receita de xarope simples caseiro | Inspired Taste https://www.inspiredtaste.net/8116/how-to-make-simple-syrup/
- Receita de Xarope de cacau | Alton Brown | Food Network https://www.foodnetwork.com/recipes/alton-brown/cocoa-syrup-recipe-1939656
- Xarope de açúcar "rico" de 2 para 1 versus xarope "simples" de 1 para 1 | Difford's Guide https://www.diffordsguide.com/encyclopedia/3593/cocktails/2-to-1-rich-sugar-syrup-versus-1-to-1-simple-syrup
- Como preparar o xarope de açúcar para a fabricação de refrigerantes https://www.silverson.com/us/resource-library/application-reports/soft-drink-manufacture-preparation-of-sugar-syrups
- Como fazer xarope simples | Cake 'n Knife https://www.cakenknife.com/how-to-make-simple-syrup/